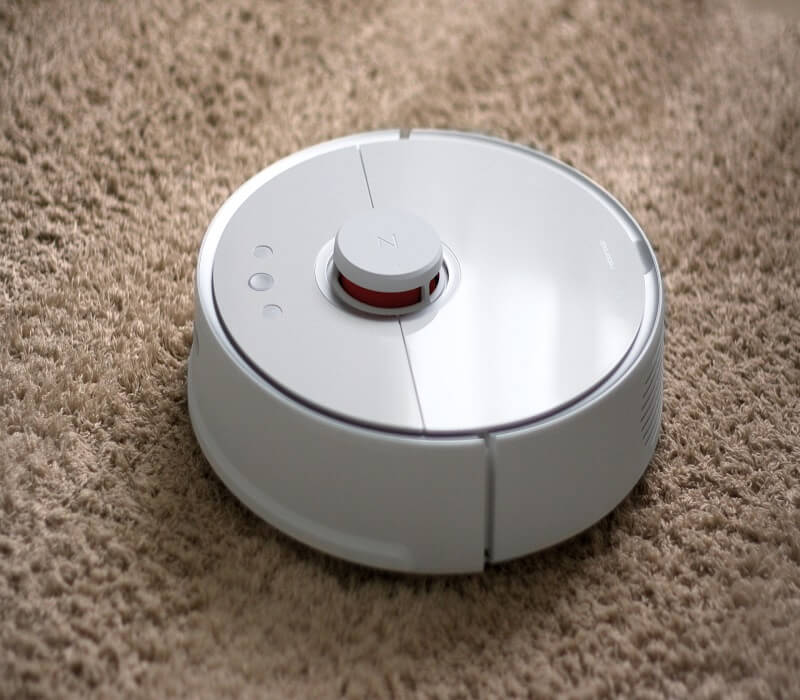
Error 99 on a Roomba typically indicates a problem with the robot’s cliff sensors. These sensors are responsible for detecting drop-offs and preventing the Roomba from falling down stairs or ledges. Here are some steps to troubleshoot and potentially resolve Roomba.
Types of error number 99
Roomba error codes can vary slightly depending on the model, but generally, Error 99 typically indicates an issue related to the cliff sensors or the robot’s ability to detect drop-offs or stairs. Here are some common variations of Error 99 and their meanings:
- Error 99 (or “99 Beeps”): Cliff Sensors Dirty – This is the most common variation of Error 99. It indicates that the cliff sensors are dirty or obstructed, preventing the Roomba from properly detecting drop-offs or stairs.
- Error 9 (or “9 Beeps”): Cliff Sensors Dirty – Similar to Error 99, this variation indicates dirty or obstructed cliff sensors.
- Error 11 (or “11 Beeps”): Cliff Sensors Dirty – Again, this variation signals dirty or obstructed cliff sensors.
- Error 10 (or “10 Beeps”): Lighthouse Signal – Some Roomba models use virtual wall lighthouses for navigation. Error 10 may indicate an issue with the lighthouse signal interfering with the cliff sensors.
In most cases, these error codes are related to the same underlying problem – dirty or obstructed cliff sensors. Cleaning the sensors and ensuring there are no obstructions around them is the primary solution for these error codes. If the problem persists after cleaning, you may need to perform additional troubleshooting or contact iRobot’s customer support for further assistance.
Roomba Error 99. Main Ways to Solve It
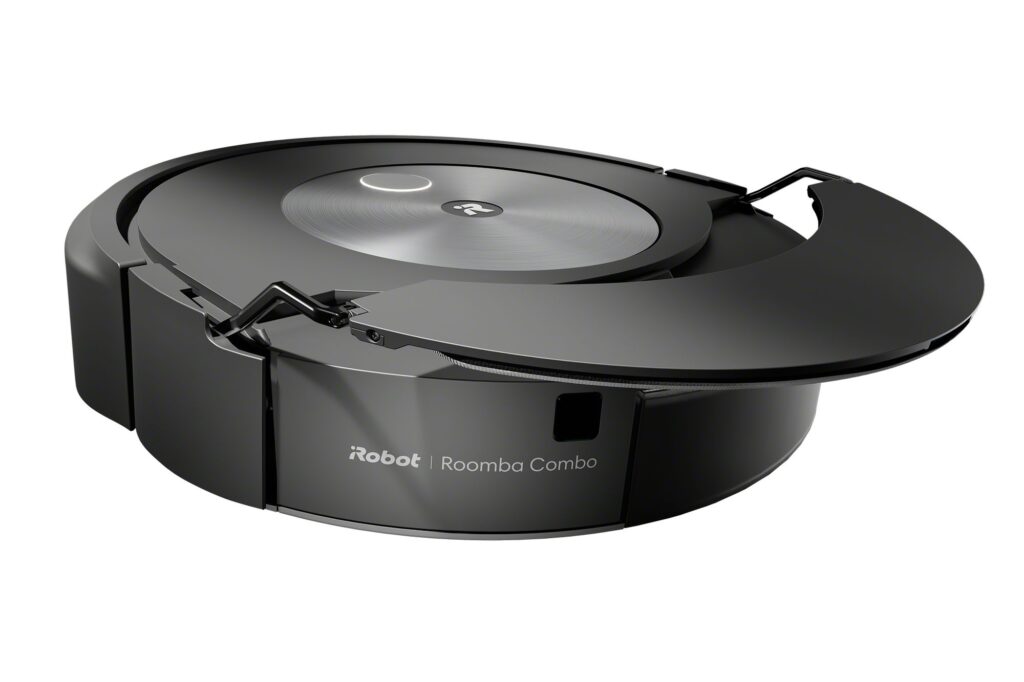
Roomba Error 99 typically indicates an issue with the cliff sensors or the robot’s ability to detect drop-offs or stairs. Here are steps to help you troubleshoot and potentially resolve Roomba Error 99:
Clean the Cliff Sensors
Cleaning the cliff sensors on your Roomba is necessary for the robot’s proper functionality. These sensors play a crucial role in preventing your Roomba from falling down stairs or other elevated surfaces. If the cliff sensors are dirty or obstructed, your Roomba may not be able to detect edges correctly, which could lead to accidents or damage.
Regular maintenance, including cleaning the cliff sensors, helps ensure that your Roomba can navigate your home safely and effectively. It’s a good practice to incorporate this into your routine maintenance to keep your Roomba running smoothly.
Check for Obstructions
Checking for obstructions is not strictly necessary every time you use your Roomba, but it is highly recommended as part of regular maintenance to ensure the best performance. Here’s why:
- Prevent Stalling and Getting Stuck. Roombas can get stuck or stall if they encounter obstacles like cords, toys, or small objects on the floor. Checking for obstructions before starting a cleaning cycle helps prevent these issues.
- Optimize Cleaning. Removing debris, hair, or tangled material from the brushes, wheels, and other components allows your Roomba to clean more efficiently.
- Avoid Sensor Interference:. Cleaning the sensors, especially the cliff sensors and obstacle sensors, ensures that your Roomba can navigate safely and detect drop-offs or obstacles accurately.
- Extend Lifespan. Regular maintenance, including checking for obstructions, can help extend the lifespan of your Roomba by preventing damage or excessive wear on its components.
While it may not be necessary to check for obstructions every single time you use your Roomba, incorporating it into your routine maintenance, such as before each cleaning session or on a weekly basis, is a good practice to ensure trouble-free operation and a longer lifespan for your robot vacuum.
Reboot the Roomba
To reboot a Roomba, press and hold the “CLEAN” button for about 10-20 seconds until you hear a tone, then release the button and wait for it to power off. Finally, press the “CLEAN” button again to turn it back on.
Perform a Soft Reset
To perform a soft reset on a Roomba, follow these steps:
- Locate the “CLEAN” button on your Roomba.
- Press and hold the “CLEAN” button for about 10-20 seconds until you hear a tone.
- Release the “CLEAN” button when you hear the tone.
- Wait a few seconds for your Roomba to power off.
- Press the “CLEAN” button again to turn your Roomba back on.
This soft reset can help resolve certain issues and is a simple process to perform.
Update Roomba Firmware
Updating Roomba firmware is generally not hard, but the ease of the process can depend on your familiarity with using smartphone apps and your Wi-Fi network setup. Here are the key points to consider:
Ease of the Process:
- If you are comfortable with using smartphone apps, the process is straightforward.
- The Roomba app usually provides step-by-step instructions.
- Most users can complete the update in a few minutes.
Factors to Consider:
- Ensure you have a stable Wi-Fi connection, as the update requires an internet connection.
- Make sure your Roomba model is eligible for firmware updates, as older models may not support them.
- Be patient, as the update process may take some time, and your Roomba will need to remain connected to Wi-Fi throughout.
If you have any concerns or encounter difficulties during the process, consulting the Roomba user manual or iRobot’s customer support can provide additional guidance. Generally, Roomba firmware updates are designed to be user-friendly and accessible to most users.
Check the Front Bumpe
To check the front bumper on your Roomba you should turn off your Roomba, inspect the front bumper for damage, clean any dirt or debris from the bumper, test its obstacle detection by placing objects in its path.
This quick check helps ensure your Roomba can navigate obstacles effectively.
Inspect the Wheels and Sensor
Inspecting the wheels and sensors on your Roomba is not necessary before every single use, but it is a good practice to perform this inspection regularly as part of routine maintenance. Here’s a summary:
- Regular Inspection. Periodically inspecting the wheels and sensors helps ensure that your Roomba operates effectively and avoids potential issues.
- Preventive Maintenance. Checking and cleaning the wheels and sensors can prevent problems caused by dirt, debris, or obstructions, which can impact your Roomba’s performance.
- Extend Lifespan. Routine maintenance, including inspecting and cleaning, can contribute to a longer lifespan for your Roomba by reducing wear and tear.
- Efficiency. Clean wheels and sensors allow your Roomba to move efficiently and navigate obstacles effectively, leading to better cleaning results.
Consider incorporating this maintenance step into your routine, such as performing it weekly or biweekly, to keep your Roomba in optimal condition. Also you should to test on different surface.
If you continue to experience Error 99 despite your troubleshooting efforts, it’s a good idea to reach out to iRobot’s customer support for further assistance. They can provide guidance or recommend additional steps based on your specific Roomba model and the nature of the problem.
Types of errors that can occur with Roomba robotic vacuums
Roomba robotic vacuums are equipped with error codes to help users diagnose and troubleshoot issues. Common Roomba errors include wheel obstruction (Error 1), brush jam (Error 2), side wheel issue (Error 5), cliff sensor problems (Error 6), main brush blockage (Error 7), bumper sensor issues (Error 9), and low battery (Error 12 and Error 13), among others. These errors help diagnose and fix vacuum problems.
What causes Roomba error number 99
Roomba Error 99 typically indicates a problem with the cliff sensors or the robot’s ability to detect drop-offs and stairs. Here are some common causes of Roomba Error 99:
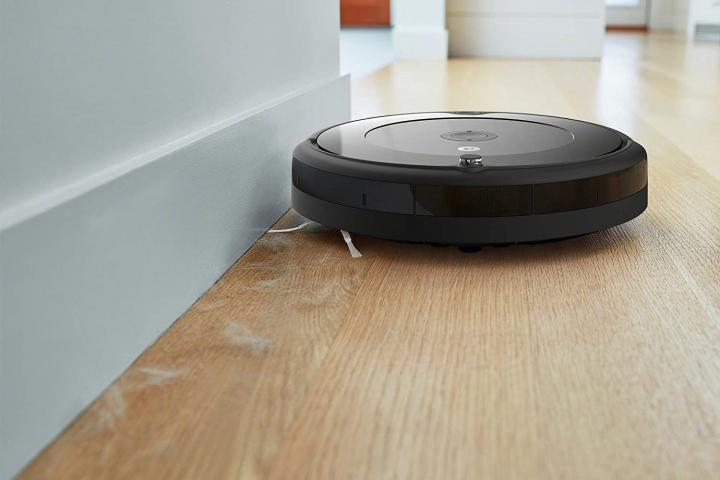
- Dirty or Obstructed Cliff Sensors. Dust, dirt, or debris on the cliff sensors can interfere with their operation. When the sensors can’t detect drop-offs accurately, the Roomba may trigger Error 99.
- Cliff Sensors Blocked. Physical obstructions or objects near the cliff sensors can block their view and cause the error.
- Software Glitch. Occasionally, a software glitch or issue with the Roomba’s internal programming can result in error codes, including Error 99.
- Unusual Flooring or Surfaces. If the Roomba encounters an unusual or highly reflective surface that confuses its sensors, it may trigger this error.
- Electromagnetic Interference. Strong electromagnetic fields or interference from other electronic devices in the vicinity can disrupt the Roomba’s sensor readings and cause errors.
- Physical Damage. Physical damage to the cliff sensors or their wiring can result in inaccurate readings and trigger Error 99.
How to avoid Roomba Error 99
To avoid Roomba Error 99, which is related to the robot’s cliff sensors or its ability to detect drop-offs and stairs, you can take several preventive measures:
- Regular Cleaning. Keep the area where your Roomba operates clean and clutter-free. Remove loose cords, small objects, or obstacles that could block the robot’s path or interfere with its sensors.
- Maintain Cliff Sensors. Periodically check and clean the cliff sensors on the underside of the Roomba. Use a soft, lint-free cloth or a small brush to remove dust and debris. Clean sensors can help prevent false readings.
- Clear Obstructions. Ensure there are no physical obstructions or objects near the cliff sensors or drop-offs that could block their view. Roomba relies on unobstructed sensors to navigate safely.
- Properly Position Virtual Walls. If you use virtual walls or virtual wall lighthouses to create boundaries for your Roomba, make sure they are positioned correctly and not interfering with the robot’s path.
- Avoid Unusual Surfaces. Roomba can sometimes struggle with highly reflective or very dark surfaces. Avoid running the robot on surfaces that may confuse its sensors.
- Minimize Electromagnetic Interference. Avoid running the Roomba near strong electromagnetic fields or electronic devices that can interfere with its sensor readings.
- Regular Maintenance. Keep your Roomba well-maintained by cleaning its brushes, filters, and dustbin regularly. A well-maintained robot is less likely to encounter operational issues.
- Update Firmware. Ensure that your Roomba’s firmware is up-to-date. Manufacturers often release firmware updates that can improve the robot’s performance and sensor accuracy.
- Create Physical Barriers. If you have areas where you don’t want your Roomba to venture, consider using physical barriers like baby gates or door closures to prevent access.
By taking these preventive measures and maintaining a clean and well-maintained environment, you can reduce the likelihood of Roomba Error 99 and other sensor-related issues. Regular cleaning and attention to the robot’s maintenance needs will help ensure smooth and error-free operation.
How to fix charging error number 99 in iRobot
If you’re encountering a charging error number 99 on your iRobot Roomba, it’s typically related to an issue with the robot’s charging system. Here are some steps you can take to troubleshoot and potentially resolve the charging error:
Clean the Charging Contacts
- Turn off the Roomba and remove it from the docking station.
- Inspect the charging contacts on both the Roomba and the docking station. They should be clean and free of dirt or debris.
- Use a soft, lint-free cloth or a cotton swab to gently clean the charging contacts on both the Roomba and the docking station.
Keep in mind that charging error number 99 can have multiple potential causes, so it may take a combination of troubleshooting steps to identify and resolve the issue. Always follow the manufacturer’s instructions and guidelines provided with your Roomba for safe and effective troubleshooting.
Read also: Roomba i7 vs i3 [also i3+]
How to fix software errors in iRobot
Fixing software errors in an iRobot, such as a Roomba robotic vacuum cleaner, often involves troubleshooting steps related to the robot’s operation and firmware. Here are some general steps to address software-related issues:
- Perform a Reboot or Reset: Many software glitches can be resolved by rebooting or resetting the Roomba. To do this, turn off the Roomba and then turn it back on. Alternatively, perform a soft reset by pressing and holding the CLEAN button for about 10 seconds until you hear a series of tones. Release the button, and the Roomba should restart.
- Update Firmware: Ensure that your Roomba’s firmware is up-to-date. Manufacturers often release firmware updates that can improve the robot’s performance and address software-related issues. Check the manufacturer’s website or the robot’s app for firmware updates and follow the installation instructions.
- Reset Home Wi-Fi Network (if applicable): If your Roomba connects to your home Wi-Fi network, resetting the network connection and reconfiguring it can sometimes resolve software-related connectivity issues.
- Check Mobile App or Software Updates (if applicable): If you control your Roomba through a mobile app or software, make sure that the app or software is updated to the latest version. Outdated apps can sometimes cause compatibility issues.
- Clear Memory and Reconfigure: Clear the memory or settings on the Roomba and reconfigure it. This can help reset any software-related issues. Refer to your Roomba’s user manual or app for instructions on how to clear and reset settings.
- Contact Customer Support: If the issue persists and you suspect it’s a software bug or a more complex software problem, consider reaching out to iRobot’s customer support or the manufacturer’s support team for guidance. They may be able to provide specific troubleshooting steps or recommend further action.
- Factory Reset (as a Last Resort): As a last resort, you can perform a factory reset on your Roomba. This will erase all settings and return the robot to its default state. Be cautious when doing this, as you’ll need to reconfigure the robot from scratch.
Keep in mind that addressing software errors may vary depending on your specific Roomba model and its software platform. Always follow the manufacturer’s instructions and guidelines for troubleshooting and updating the software to ensure safe and effective resolution of software-related issues.
How does iRobot provide customer care
iRobot provides customer care through various channels to assist customers with their questions, issues, and product support needs. Here’s an overview of how iRobot typically provides customer care:
- Customer Support Website. iRobot maintains a customer support website where customers can access a wealth of information, including user manuals, FAQs, troubleshooting guides, and product documentation. This serves as a valuable resource for self-help.
- Online Support Chat. iRobot often offers live chat support on its website. Customers can chat with support agents in real-time to get assistance with their inquiries or problems.
- Email Support. Customers can contact iRobot’s customer support team via email. They can submit their questions or issues, and support agents will respond to their inquiries and provide guidance.
- Phone Support. iRobot typically offers a customer support phone line where customers can speak directly with support representatives. Phone support is often available during specific hours, and customers can get personalized assistance with their concerns.
- Social Media. iRobot may have an active presence on social media platforms like Twitter and Facebook. Customers can reach out to the company through these channels and receive responses to their inquiries.
- Customer Forums. Some iRobot products have dedicated online forums where customers can discuss issues, share tips, and seek assistance from other users. iRobot representatives may also participate in these forums to provide support.
- Warranty and Repair Services. iRobot typically offers warranty support for its products. Customers with products covered by warranties can request repairs or replacements if their devices experience issues during the warranty period.
- Authorized Service Centers. iRobot may have authorized service centers in various locations where customers can bring their products for repairs or servicing, especially for out-of-warranty devices.
- Product Registration. iRobot encourages customers to register their products online. This helps streamline support and ensures that customers receive important product updates and notifications.
- Online Chatbots and Virtual Assistants. Some companies, including iRobot, use AI-powered chatbots or virtual assistants on their websites to answer common questions and provide basic support. These chatbots can assist with simple troubleshooting and direct customers to the appropriate resources.
iRobot’s approach to customer care may evolve over time, and the specific support options available may vary by region and product. It’s a good practice for customers to visit the official iRobot website or contact iRobot directly to access the most up-to-date information on customer support options and availability.
Read also: Roomba not charging: 10 ways to make a quick fix
Conclusion
Solving Roomba Error 99 is typically not very difficult, and it can often be resolved with some simple troubleshooting steps. Cleaning the cliff sensors, checking for obstructions, performing a reset, and ensuring the robot’s wheels and sensors are in good condition are straightforward actions that can address the issue in many cases.
However, the difficulty of resolving the error may vary depending on the specific cause. If the error persists despite basic troubleshooting, it may require further investigation or potentially contacting iRobot’s customer support for more advanced assistance.
In summary, while Roomba Error 99 can be a nuisance, it’s usually not hard to solve with the right steps and some patience.
How do I fix error 9 on Roomba s9?
To fix error 9 on a Roomba s9:
Clean wheel sensors.
Inspect and clean side wheels.
Restart Roomba.
Reset Roomba.
Check for firmware updates.
Contact iRobot support if the issue persists.
What is error 1 9 on iRobot?
Error 1 9 on an iRobot Roomba typically indicates an issue with the side wheel, specifically a problem with the side wheel motor or sensor.
How do I test my Roomba sensor?
To test your Roomba’s sensors, set up obstacles, start it, and observe if it navigates around obstacles without errors or unusual behavior.
Does Roomba have a reset button?
Most Roomba models do not have a physical reset button. You can typically reset them by pressing specific combinations of buttons or by power cycling the Roomba (turning it off and on). Consult your Roomba’s user manual for model-specific instructions on how to reset it.
How do i reset my Roomba sensor?
To reset sensors on a Roomba:
Power off your Roomba.
Remove the battery or unplug it.
Wait for a few minutes.
Reconnect the battery or plug it back in.
Power on your Roomba.
This should reset the sensors and may resolve sensor-related issues.
We're an affiliate
We hope you love the products we recommend! Just so you know, CleanyHome.com is a participant in the Amazon Services LLC Associates Program, an affiliate advertising program designed to provide a means for sites to earn advertising fees by linking to Amazon.com.

